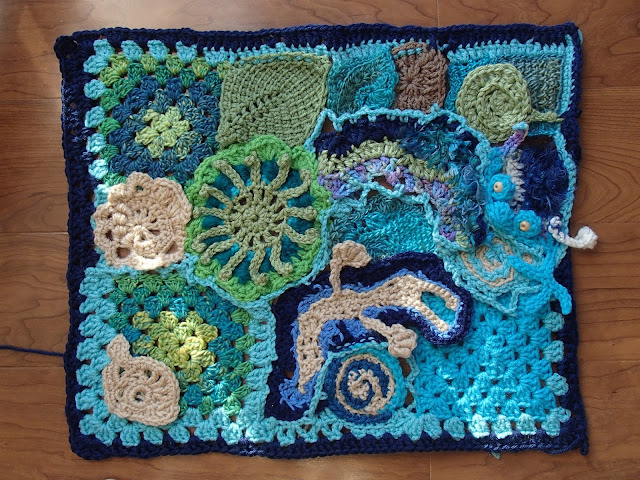
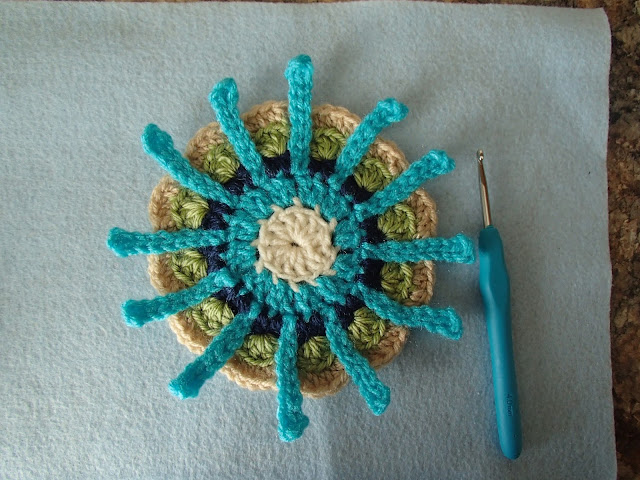
Here is a pattern for cheerful colorful circles.
There aren't any unusual stitches in here. Photo and video tutorials for standing sc and standing dc can be found in many places on the internet. I didn't realize those useful stitches have been around for a very long time. Freeformers have been using them forever.
You will need:
scraps of worsted weight yarn (use cotton for pretty potholders)
crochet hooks-I used 4.5mm and 5.5mm
tapestry needle for darning in loose ends
Some necessary explanations:
Ray: ch 10, starting in 4th ch from hook: sl st blo in each of next 7 ch, sl st under two bars on top of last dc (placement of this last sl st is shown on the picture below)
SH (shell): (2dc, ch1, 2dc) in indicated st or sp
blo: back loop only
dc2tog:
yo, insert hook in indicated st, pull up loop, 3 loops
on hook
yo, pull through 2 loops
yo insert in next indicated st,
pull up loop, 4 loops on hook
yo, pull through 2 loops, 3 loops on
hook
yo, pull through all 3 loops
Color of yarn is changed every row.
Round 1
In magic loop: ch2, 12 dc, join on top of first dc, fasten off (12 dc)
Round 2
Standing dc blo in any dc, dc blo in same st, make ray
(2 dc blo in next dc, make ray)11 x, join on top of standing dc, fasten off
(12 rays, 24 dc)
Rounds 3-6 are worked BEHIND rays. At the BACK side of rays you will see loops/bars very similar to knitted purl sts. If you look hard enough, you will see that they are kind of paired together, and that there is seven of them:
This picture shows the lowest pair of bars, one that is located at the base of a ray. Lets call this place bar1:
On this picture the steel hook indicates the highest bar pair, just beneath the loop. Let's call it bar7:
Lets call all the other bar pairs bar2, 3, 4, 5, and 6.
Rays are attached to stitches of each round using sl st in indicated bars.
You don't have to join in the exact same bar as I did. It just has to best correspond with the height of your stitches. You may choose to crochet through both bars of the pair, or just one of them. The sl sts are always ignored in the stitch count.
Round 3
Join yarn in bar2 of any ray,
(hdc in next st, 2hdc in next st, sl st in bar2 of next ray)12x, ending with sl st in same st as beg, fasten off (36 hdc)
Round 4
Join yarn in bar3 at back of any ray, (skip next hdc, SH in next hdc,, sl st in bar3 of next ray)12x, ending in same st as beg, fasten off (24 dc, 24 ch OR 12 SH)
Round 5
Join yarn at bar5 of any ray, (hdc blo in each of next 2 dc, hdc blo in next ch, hdc blo in each of next 2 dc, sl st in bar5 of next ray)12x, ending with sl in same st as beg (60 hdc)
Round 6
Join yarn at bar7 of any ray, (ch1, dc2 tog over next two sts, ch3, skip next st, dc2 tog over next two sts, ch1, sl st at bar 7 of next ray)12x, ending in same st as beg, fasten off (24 dc2tog groups, 24 ch3 spaces, 24 ch)
Don't worry if your mandala looks like this at this point:
Flatten and pull it gently to shape:
Round 7
In this row you will be working IN FRONT on ch 3 spaces of the previous round. Some stitches will be placed in a small loop on top of the ray.
Standing sc in loop of ray, ( ch1, sc on top of next dc2tog,
3 dc in next hdc two rows below, sc on top of next dc2tog,ch1, sc in loop of next ray)12 x, except on last repeat don't make sc through loop, instead join with sl st on top of first sc, fasten off (24 3dc groups, 24ch, 36 sc)
Sew in loose ends of yarn.
And that's it!
Although I already started crocheting a new row.
I also have an idea of squaring it into a large afghan block.
Please, let me know if you found any mistakes and I'll try to correct them.


